admin-dashboard
Admin Dashboard App
Welcome to the Admin Dashboard App! This application is designed for efficient administrative management with a modern, responsive UI. It uses Next.js, React, and Tailwind CSS among other tools to deliver a powerful and user-friendly experience.
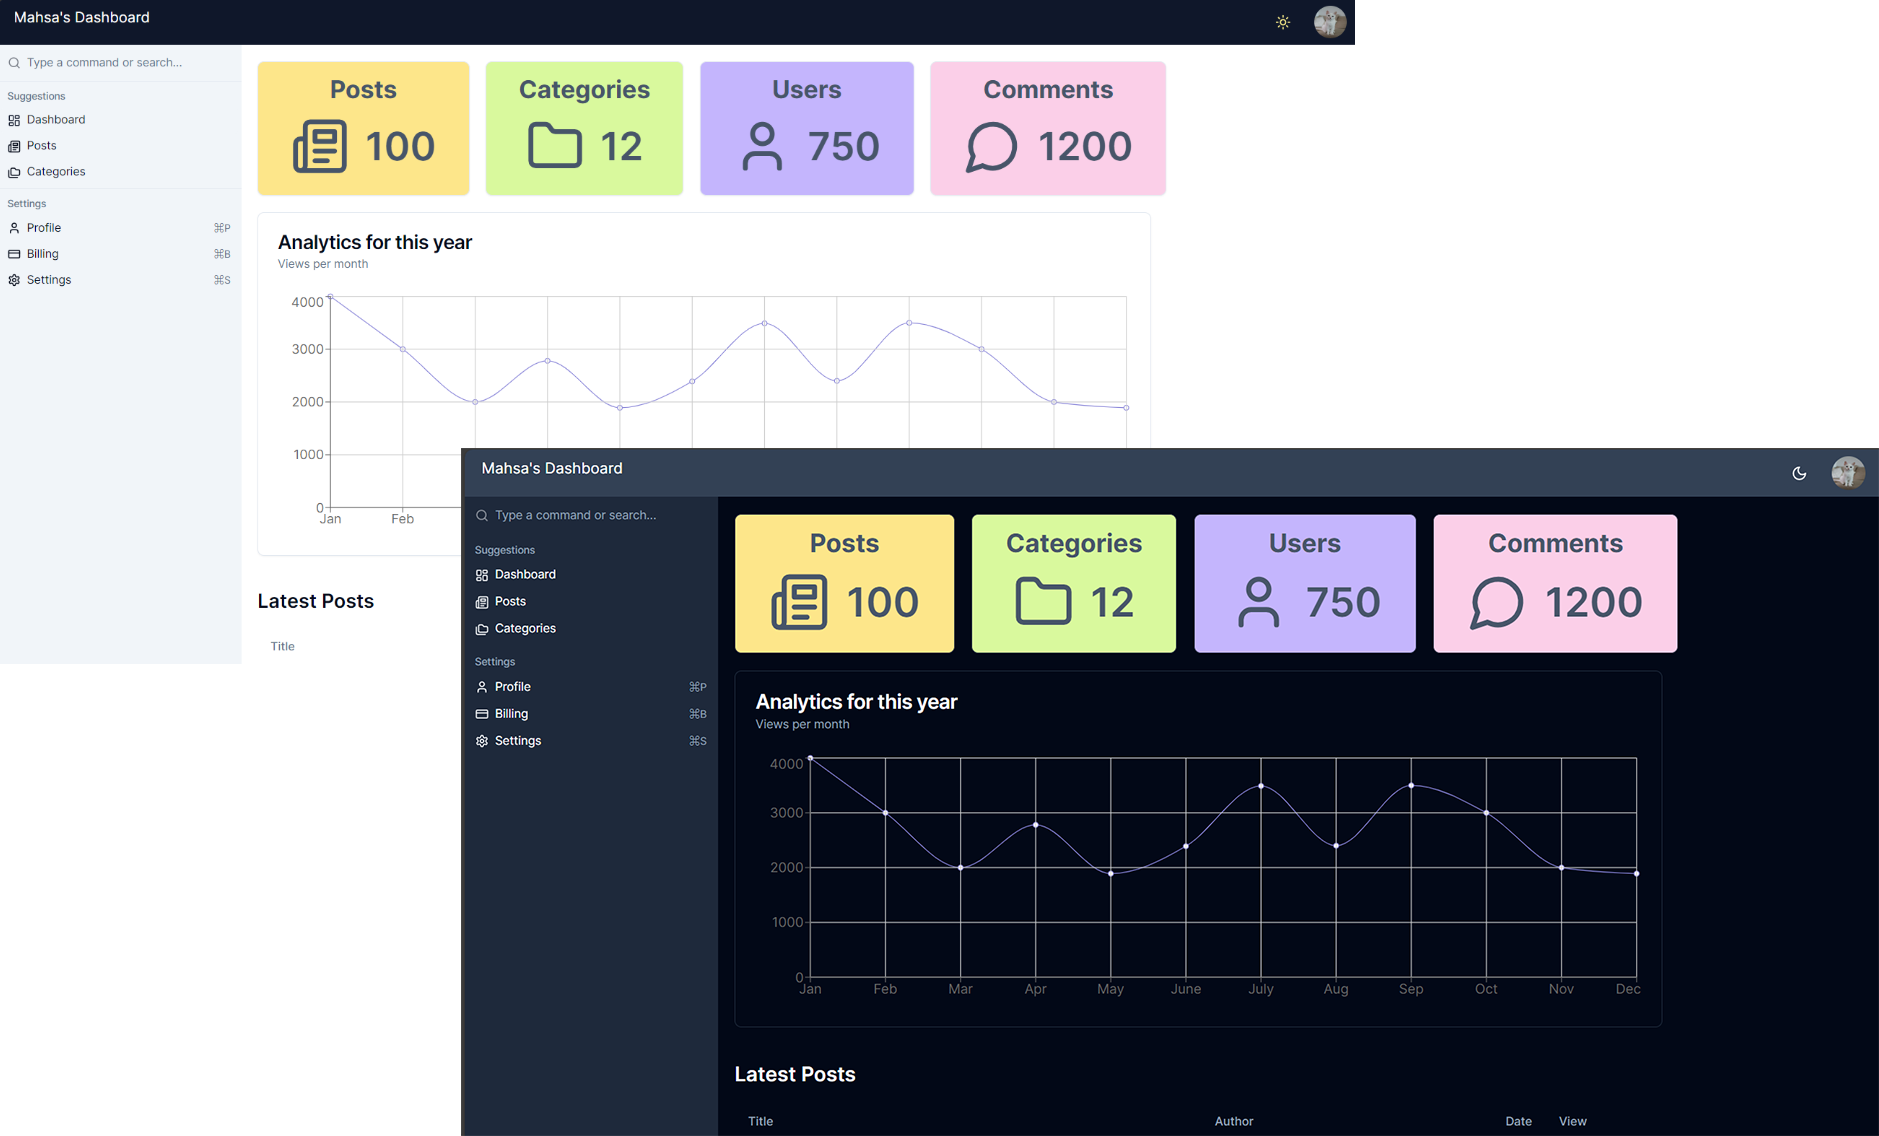
📸 Preview
🛠️ Tech Stack
- Framework: Next.js (React)
- Styling: Tailwind CSS, Radix UI
- Data Visualization: Recharts
- Forms: React Hook Form with Zod for validation
- Theming: Next Themes (dark/light mode support)
- State Management: React hooks and context API
🎯 Features
- Responsive Design: Optimized for all screen sizes (mobile, tablet, desktop).
- Interactive UI Components: Modals, dropdowns, tabs, and more using Radix UI.
- Data Visualization: Clear and interactive charts and graphs with Recharts.
- Advanced Forms: Seamless form handling and validation with React Hook Form and Zod.
- Dynamic Theming: Toggle between dark and light themes.
- Customizable & Scalable: Easily extendable components and styles.
🚀 Getting Started
To run the Admin Dashboard App locally, follow these steps:
Prerequisites
Make sure you have the following installed:
Installation Steps
-
Clone the repository
```bash git clone https://github.com/ghezel1995/admin-dashboard.git
-
Navigate into the project directory
```bash cd admin
-
Install the dependencies
```bash npm install #or yarn install
-
Start the development server
```bash npm run dev # or yarn dev
-
Access the app
Open your browser and visit http://localhost:3000.
Forms & Validation
- Utilize the built-in forms for data entry, leveraging React Hook Form for easy management and Zod for schema validation.
Theming
- Switch between light and dark modes using the integrated Next Themes.
📦 Deployment
You can deploy the Admin Dashboard App using services like Vercel, Netlify, or GitHub Pages. Below are the steps for deployment.
Deploying to Vercel
- Build the project:
   npm run build
   # or
   yarn build
-
Push the code to your GitHub repository.
-
Deploy to Vercel:
- Visit vercel.com and create an account.
- Link your GitHub repository.
- Vercel will automatically build and deploy your project.
Deploying to Netlify
- Build the project:
   npm run build
   # or
   yarn build
-
Push the code to your GitHub repository.
-
Deploy to Netlify:
- Visit netlify.com and create an account.
- Link your GitHub repository and select the project.
- Netlify will automatically build and deploy your app.
📄 License
This project is licensed under the MIT License. For more details, check the LICENSE file.
👥 Contributing
Contributions are welcome! If you have ideas for improvements or find any issues, feel free to open an issue or submit a pull request.